The making of a 2 tiered enamel ware stand. There were stands were all over the internet…2 tiered, 3 tiered and some of other dimensions. Most of the stands were made with Dollar Tree pans or plates and bowls and mostly with Dollar Tree candle sticks. They are beautiful and can be so unique. I knew that I wanted to make one for Sunni’s coffee bar, but I wanted it to be different. As I was racking my brain (what little there is of it) I remembered that my Great Nan had several pieces of enamel ware. Hers were white with a black border…so the project wheels started turning. So I decided on a 2 tiered enamel ware stand that was white with black border.
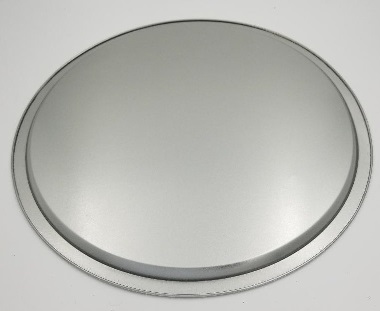
I made my decision to make a 2 tiered enamel ware stand with more room between the tray area. The Dollar Tree candle stick made the trays to close together. With that thought in mind I went to the Dollar Tree and decided on a pizza pan and a pie pan. The reason I decided on them was because I like the symmetry between the two pans. I looked around in there for quite some time, but could not find the right piece to go between the 2 pans. So back to the house I went with my loot…a pizza pan and a pie pan and yes that is really all I got that trip! I was a woman on a mission!
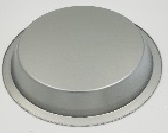
Supplies for a 2 Tiered Enamel Ware Stand
When I got home I looked high and low for just the right piece to go between the pie pan and pizza pan. After all my stand was going to be an amazing 2 tiered enamel ware stand. And then I found it…the perfect sized small flower vase!
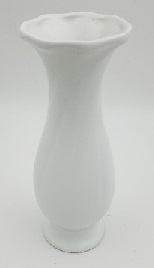
Now I needed feet to make my stand different than the ones I had seen everywhere. So then the hunt was on for some feet. Like every good crafter nothing was out of bounds. So I wound up taking some knobs off my cabinets. (crafters tend to use what they find). I got my white spray paint, which is Rustoleum 2X by the way…love it! Gathered together my E6000 glue and some sand paper and alcohol. Let’s put this baby together!

Putting the 2 Tiered Enamel Ware Stand Together
I started by painting the pizza pan, the pie pan and the vase white. As soon as they were dry I put some hot glue on the places where I wanted it to look like the paint had chipped off. (you can use petroleum jelly…remember crafters use what they have on hand…lol) I painted the rim of both pans and the cabinet knobs black. After the black paint was dried I pulled the hot glue off and the white paint was revealed. That is where the chipped enamel look came in (just like I wanted).
While all that was drying I sanded the top and bottom of the vase. Then I figured out where the middle of my two pans were and marked them (pizza pan on top side and pie pan on bottom side). After I marked them I sanded a small area where I had marked. I then used the alcohol to wipe down the areas I had sanded. To attached the pieces together I used a mixture of E6000 glue and hot glue. The hot glue was to hold the pieces together while the E6000 cured. I used the two types of glue around the bottom side of the pie pan where I had marked and then around the top edge of the vase. After the glue dried overnight I then did the same thing to the bottom of the vase and to the top side of the pizza pan where I marked. The next day I completed the same steps with the feet and let them dry overnight.
Then voila…I have a 2 tiered enamel ware stand!!!




I love how you make items possible and affordable. Many pay top dollar for the same thing. I live in a apartment with limited counter space and would love to be able to use one of these.
Love all that you do Miss Debbie. I am wanting to order more shirts as I have been wearing the beautiful one Sunny sent me all the time.
Thanks for your blog, nice to read. Do not stop.